Feel free to share
 Using this site means trees will be planted. ^.^
(Find out more)
Growing sugar crystals.
Sugar crystals are a fun and easy way of growing crystals, which are edible to boot. It's harder to grow a single crystal when compared to growing salt crystals, but they do often form better looking crystal chunks, and often keep hold of the food coloring better as well.
Parental guidance: Use of a stove, high temperatures which could cause burns.
Difficulty: (Very) easy.
Time: Initial setup takes about an hour or so, growing the crystals can take anywhere from a night to a week.
Cost: Cheap
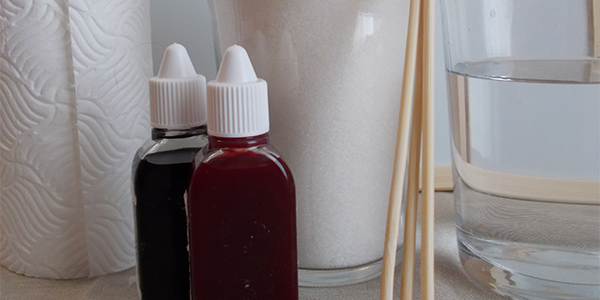
Materials: Sugar, water, pan, glass, skewer, scissors, piece of cardboard or something else to cover the glass with.
Optional materials: Food coloring, clothing pin
Instructions
First, gather all your materials. Make sure you have room to work, make sure your clothes aren't dear to you, as food coloring can leave permanent stains, and make sure you're prepared.
Then, pour about a handful of sugar into a pan, add a similar amount of water, and bring up the heat. You don't want the water to boil, but you do want it to heat up. Keep adding small amounts of sugar (a couple of tablespoons initially, then one at a time later), until no more sugar can be dissolved.
Be careful, the more sugar you add, the thicker the liquid will become, until it eventually becomes like a syrup. This liquid is incredibly hot, and if you accidentally spill some on you it will very likely burn you. Unlike water, you can't just wipe away syrup. This part is very similar to making caramel.
Once the sugar will no longer dissolve any further, which you can tell by the sugar still floating around the bottom, pour the thick syrup into a glass, and let it cool. Again, be very careful, the syrup is hot. If you want to be on the safe side, let the liquid cool in the pan first, then pour it into the glass.
While waiting for the syrup to cool down prepare a skewer by first wetting it, and then covering it in sugar. The sugar will attach to the skewer, which will then act as growing points for the sugar crystals to grow. This isn't strictly necessary, but it does often give better results.
Note: If you intend the crystals to be eaten as snacks, make sure you don't cover the sharp end in sugar to avoid accidents. You could even use plastic, blunt skewers, or lollipop sticks instead.

Once the syrup has cooled, put the skewer into the syrup, and make sure it doesn't reach the bottom. The easiest way to do so is by using a clothing pin, or perhaps a couple of pen(cil)s like in the image below. Also, cover the glass to prevent dust and other impurities from getting into the syrup.
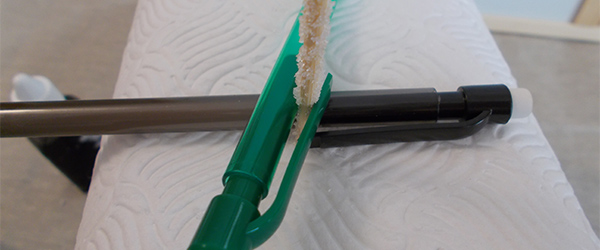
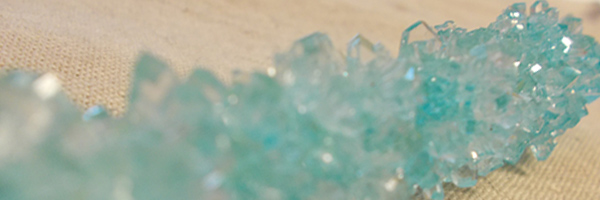
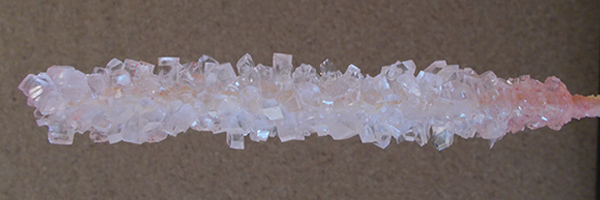
Now all you have to do is play the waiting game. Crystals will begin to grow on every surface, including the glass, and after anywhere between a night and a week you'll have a skewer covered in crystals, like in the images below.
That's it. That's all there is to it, told you it was easy.
Tips and tricks
The fun thing about sugar is not just that it's edible, but it's also easy to dissolve again, and easy to crumble. With this in mind you can cover props in sugar crystals, craft little displays for tabletop sessions, create a wide range of strange looking snacks, you could even cover your dice in sugar crystals, just don't expect them to roll fairly.
Perhaps a physical form of a puzzle requires something covered in sugar to be released by dissolving the sugar in a bowl of hot water. There's plenty of fun to be had.
If nothing else, they at least make for fun looking props.
If you wish to add flavor to the otherwise incredibly sweet snacks, try adding some flavored oils. The flavor will still be predominantly sweet, but the extra flavor of the oil could add just enough to make it less bland.
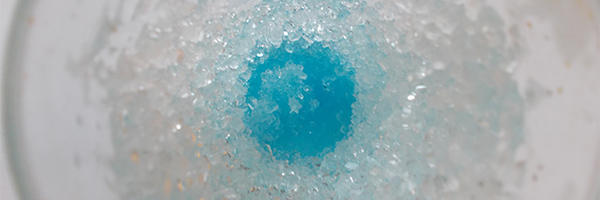
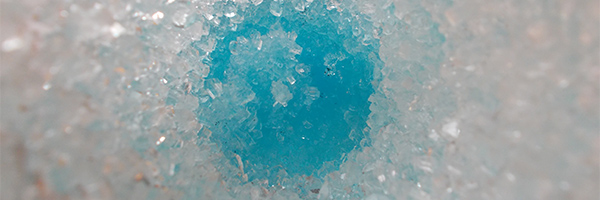
Cleaning everything's easy with a little hot water. The sugar will dissolve, but the glass does look very pretty (see images below), so they could be used for fun decorational purposes, or perhaps even as a way to serve cold drinks, since the sugar won't dissolve well in cold liquids.
