Feel free to share
 Using this site means trees will be planted. ^.^
(Find out more)
Making epoxy resin coasters.
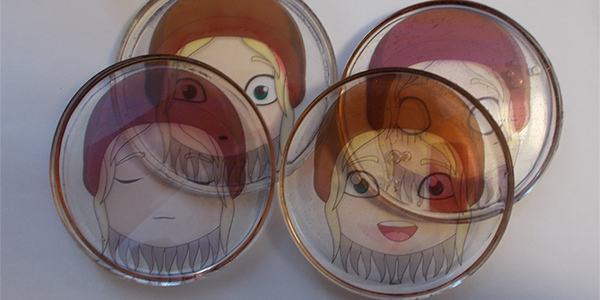
Epoxy resin allows for some fun, creative projects. One of which is coasters. It's relatively easy to work with, but epoxy resin's definitely something you want to be careful with. Still, the possibilities, even with simple coasters, are endless. Your coasters could contain images, dice, stones, shells, and so much more to personalize them.
Parental guidance: Not suitable for children.
Difficulty: Easy to moderate.
Time: 30 minutes (depending on how many you make)
Cost: Cheap to moderately expensive
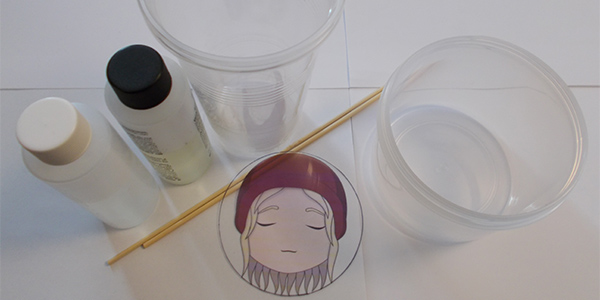
Materials: Epoxy resin kit, plastic container (will form the coaster), disposable cups, stirring sticks, whatever you wish to be inside the coaster.
Optional materials: Printer, transparent printing sheets.
Instructions
First you'll want to prepare your workspace, and make sure the clothes you're wearing aren't dear to you. If you spill any resin, it will very likely leave a mark. It can be cleaned with rubbing alcohol, but this will often cause a mark in and of itself.
Once your workspace is ready, first gather all the materials you need, and then prepare whatever you wish to be inside the coaster. I chose images, but you could put a whole range of items in the epoxy. Do note that the epoxy is liquid, which could mess with ink for example, and, depending on the epoxy, not everything might be suitable, so make sure you read the entire instructions of the epoxy kit you bought.
My images were printed on a transparent sheet, these are usually widely available, especially online. I added a circle around the images I wanted, a circle roughly the size of the plastic container I used. This way I could center the images better.
Once you have your image or other elements for the coaster ready, create the epoxy mixture according to the instructions of your chosen epoxy kit. It's very important you follow the instructions closely, otherwise you'll end up with an undesired end result.
Cleaning resin can be a big hassle, so it's usually much easier to simply pour everything in disposable cups, then throwing away the cups once the leftover remnants of resin have hardened. But whatever you do, do not wash away liquid resin in your sink. The resin will harden, and this could clog up your drains, leave spots of resin in your sink, and have all sorts of other, unwanted effects.
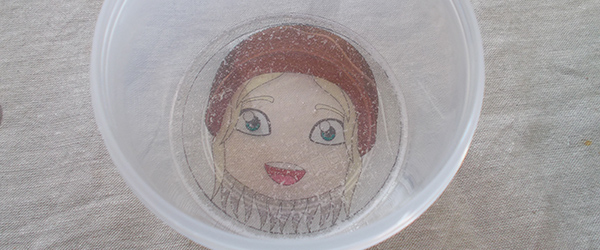
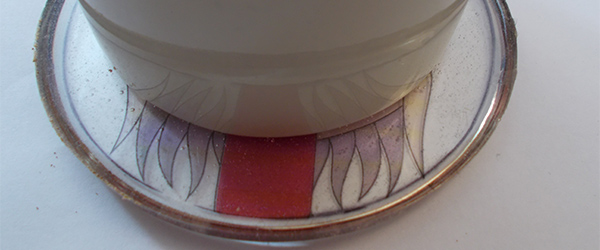
Once the epoxy mixture is ready, pour a thin layer in the container first, then add the image and/or other elements, and then pour the rest of the epoxy resin on top. Let it harden for as long as the instructions manual of your resin dictates, then take your new coaster out of the container, and repeat everything until you have all the coasters you need.
If you're having trouble getting the coaster out of the container, try bending the container. Even pushing the bottom with force could be needed, it was in my case, but eventually it'll give way. This is also why you definitely want to use a plastic container, rather than a metal one, for example. Plastic will generally still bend a little, just enough to make the coaster let go of the container with a little movement.