Feel free to share
 Using this site means trees will be planted. ^.^
(Find out more)
Making a dice bag.
Dice bags can be a lot of fun, and they offer a great way of adding a personal touch to your gaming gear. They also make for great gifts, and are very easy to make. They don't even have to be expensive, to prove this I made a dice bag out of an old shirt of mine, and a spare shoelace. You can use other items of clothing or fabric as well, as long as they're big enough.
Parental guidance: Use of a sewing machine and/or needle and thread.
Difficulty: Easy to moderate.
Time: 30-60 minutes
Cost: Cheap to moderately expensive, it depends on what materials you wish to use.
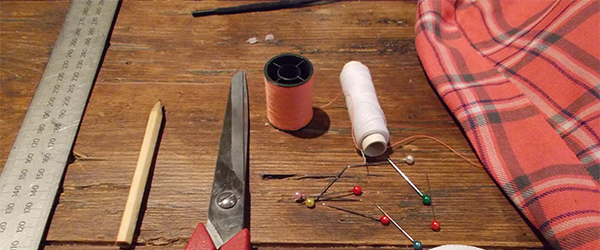
Materials: Piece of fabric (mine was 52x19cm, or 20.4x7.4 inches), ruler, scissors, safety pin, string/small rope/whatever you wish to use as the cord, pins, thread (ideally in similar or complementary colors to the chosen fabric).
Optional materials: Sewing machine would be incredibly helpful, but it's possible to use needle and thread as well. The seams may be a little messier this way though, but that's a minor issue.
Instructions
Gather all your materials first, and setup your workspace. Good lighting is very helpful, especially when you're not working with a sewing machine, as they usually have built in lights.
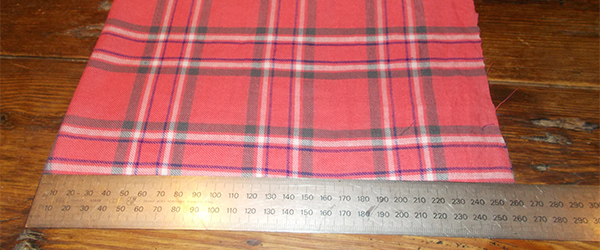
Then grab the cloth you wish to make the dice bag out of, and measure out a single, rectangular piece. As mentioned, mine was 52x19 centimeters, or 20.4 x 7.4 inches, which ended up being the size of an average dice bag. Definitely plenty of space for a good dice collection. Don't worry too much about cutting perfectly straight, or about any frilly bits caused by the cutting, these will be on the inside later.
Once you have your fabric cut out, fold it double along its longest side, so in my case I ended up with a folded piece of 26x19cm (10.2x7.4 inches). Also make sure the better looking side of the fabric is on the inside of the fold, you'll be turning everything inside out later for the final result.
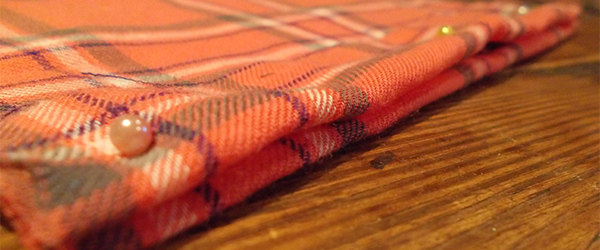
Now fold back the edges by about 1.5-2cm (0.6-0.8 inches), or more if your cord is particularly thick. You'll want enough space for the cord to fit in there, and enough space to sew it together as well.
Once you've folded the edge back you'll want to use pins to keep the edge in place. Do the same for the other side, and you'll already be able to see the bag begin to take shape.
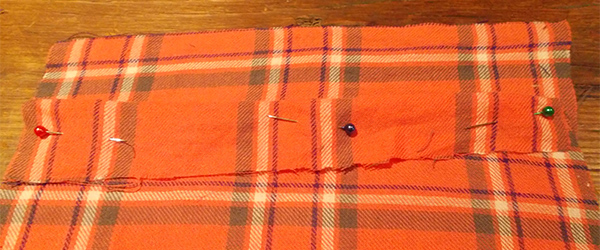
As you can see in the image above, my flap isn't perfectly straight. This was because my cutting wasn't straight, turns out the lines on the cloth weren't straight either, so cutting along them was a bad idea.
To make sure the edge itself is straight, simply measure the distance between that edge, and the opposite side of the bag, the side that'll be the bottom. Simply make sure it's the same everywhere.
Depending on how loose your fabric is, you may wish to use pins to keep the sides of the bag together as well, as you'll be sewing them together first.
Sew both sides up to the edge you folded earlier using your preferred method, but don't sew this edge tight. If you do, you won't be able to loop the cord through there later.
If you have pins in the sides, simply take them out as they near the needle of the sewing machine, or when you get to them with your needle and thread.
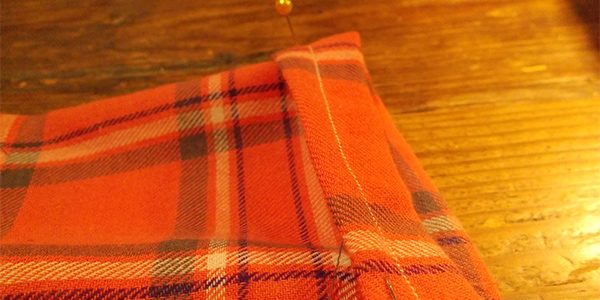
Now you'll want to sew the top edges together at the bottom of the folds made earlier. Be careful though, you can't just place this on the sewing machine like you could with the sides, if you do, you'll sew the entire thing shut.
You'll have to carefully fold and fumble the fabric a little, sew small sections at a time, and rotate the entire bag as you go.
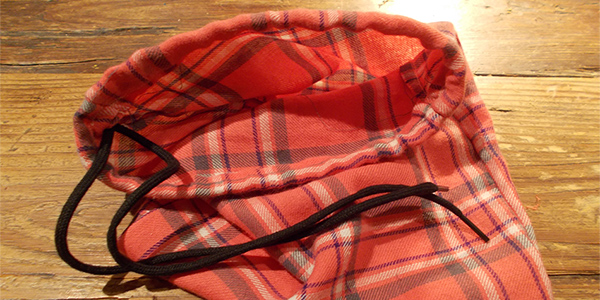
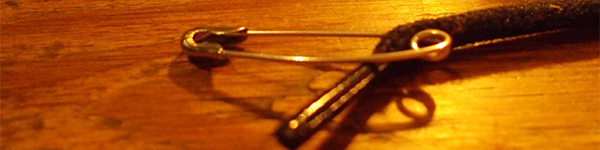
That's all the sewing done! Hooray! Simply turn the bag inside out, and you'll have one neat looking dice bag. One thing's still missing though, the cord. Grab your safety pin, and the cord of your choosing. I used a spare shoelace for mine.
Push the needle part of the safety pin through the end of the cord, then close the pin. Now push the pin in one hole of the dice bag, the holes are on the inside. Alternatively, cut holes in the outside if you prefer that look, and push the safety pin into one of those holes.
Now comes the tricky part. You'll want to keep pushing the safety pin further into the hole, which is done by shoving fabric over it, then holding onto this end, then pulling the fabric over its other end (the end with the cord). With a little practice you'll quickly find a rhythm. The movements look a little like your thumb and index finger of one hand are constantly passing things to the thumb and index finger of your other hand, like people handing buckets of water to each other during a fire, if that makes sense.
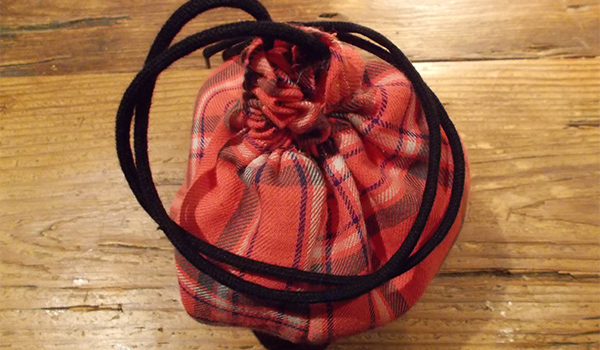
Eventually you'll reach the other hole, simply pull the safety pin, pull the cord through as far as you wish, and you're done. Simple, right?
You might wonder why you should use a safety pin. It's because a safety pin is very rigid, easy to grab, and easy to remove at the end. Cords themselves usually refuse to be pushed and pulled further, and other attachments can slip off inside of the loop, which is the last thing you want.
I've made a guide on how to create a more elaborate dice bag as well, one with an actual bottom, which you can find here, if you're up for a bigger challenge.