Feel free to share
 Using this site means trees will be planted. ^.^
(Find out more)
Making a round bottom dice bag.
Dice bags are always great to have, but nothing beats one you made yourself. The one I use is the one you'll see in this guide, and I'm still very happy with it. I've been using it for months, and it's still as good as new.
This version's definitely trickier than the one I made in the simple dice bag guide, so if you prefer to keep things simple, definitely go with that one. Having said that, this one isn't incredibly difficult, and the round bottom means it'll stand up straight, and it makes looking for specific dice easier as well.
Parental guidance: Use of a sewing machine and/or needle and thread.
Difficulty: Moderate to hard.
Time: 60+ minutes
Cost: Cheap to moderately expensive, it depends on what materials you wish to use.
Materials: Piece of fabric (the bigger the easier to work with), ruler, scissors, safety pin, string/small rope/whatever you wish to use as the cord, pins, thread (ideally in similar or complementary colors to the chosen fabric).
Optional materials: Calculator, sewing machine would be incredibly helpful, but it's possible to use needle and thread as well. The seams may be a little messier this way though, but that's a minor issue.
Instructions
First, gather all the materials you need, then make sure you have a workspace that's easy to work on. Plenty of light, plenty of space, everything you need. Then grab your fabric, and cut out a circle for your bottom. The shape of the bottom can be different if you'd like, but a circle's easier to work with.
Now you'll need a rectangular strip of fabric. The size will partially depend on how deep you wish your dice bag to be, and partially on the size of your circle. Measure your circle's diameter or radius (the diameter is the length from one end to another, the radius is the distance from the edge to the center, or half the diameter). Then calculate the circumference of the circle by multiplying the radius by 2, and then by pi (3.1415), or multiplying the diameter by pi. Add a few centimeters (about an inch) to this number, then measure that out for the rectangle you have to cut out.
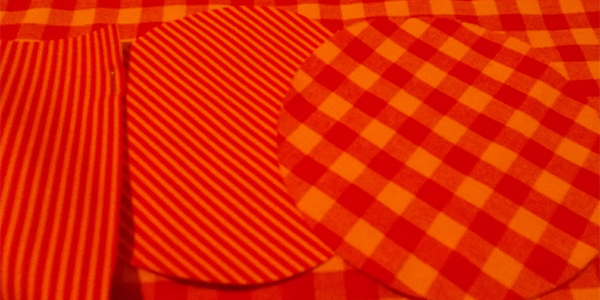
I used two fabrics for mine, one for the outside look, and one for the inside look. This doesn't overly complicate things, but it is best if the fabrics you use aren't overly stretchy. If they are, they'll likely fold, and mess up the sewing. I ran into this with a different version of this dice bag. It still came out well in the end, but it's very fidgety to work with.
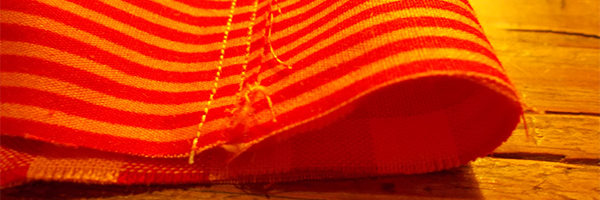
Grab your rectangle, and fold one edge (the edge for the opening) far enough for the cord you wish to use to fit inside this fold, and with enough space left to actually sew this fold shut. Use pins to pin it all together, especially if you're using two pieces of fabric like me, and then sew these edges together.
Note that the fabric or fabric side facing you will be on the inside of the dice bag, as you'll pull the entire thing inside out later.
Now fold the rectangle double so the edges forming the side of the bag meet. You're basically creating a cylinder, a very droopy cylinder. Sew these edges together as well, but make sure you don't sew the bag opening's edge from earlier together, or you won't be able to loop your cord through it later.
If you are indeed using two pieces of fabric, you'll also want to sew together the two circles, again after pinning them together.
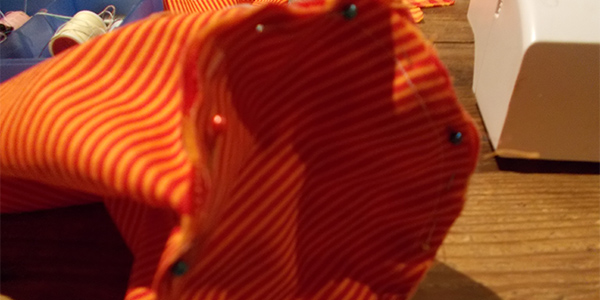
Now comes a finicky part. You'll want to pin the circle to the open bottom side. Don't worry about closing everything incredibly neatly, that's what the sewing's for.
That's not the finicky bit though, the finicky bit is actually sewing it together. You'll have to fold the bag a little, sew small segments at a time, turn it constantly, and pay close attention to make sure the edges are still aligned. If you're not using a circular bottom, you might encounter other problems too, like making sure corners look well, but simply take it slow, and you should be fine.
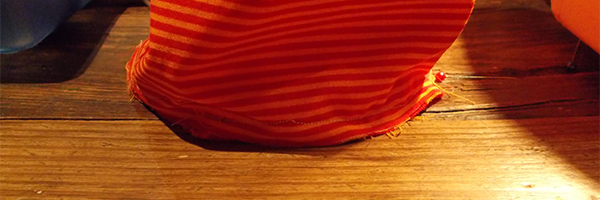
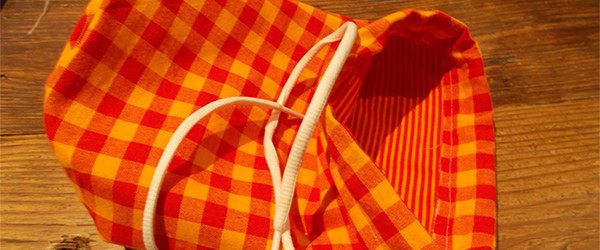
Turn the entire thing inside out, and you'll have an almost fully formed dice bag. All that's left is the cord. You have two choices, either loop it through the holes on the inside, or make holes on the outside. Since I went for the inside option with the simple dice bag, I went for the outside version for this dice bag. Simply cut two small lines, but make sure your cut is only on one side, not through the entire thing.

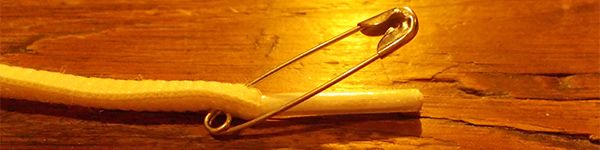
Now grab your safety pin, pin it through your cord, and shut it. Push the pin through one hole, then keep pushing and pulling fabric over the pin until it comes out of the hole on the other side. Once you reach this, simply pull through the cord, remove the safety pin, and you're done! Hooray!
You may wonder if you need the safety pin, I definitely recommend it. Cords themselves tend not to allow themselves to be pushed and pulled through the loop as easily, and any other attachments may let loose mid loop, which is really difficult to fix.
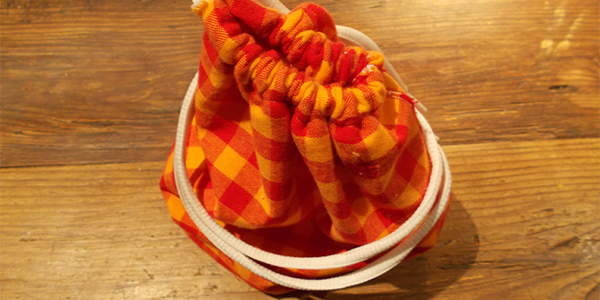
Fill your bag with dice, and show it off to your friends, or give it away as a personalized gift.