Feel free to share
 Using this site means trees will be planted. ^.^
(Find out more)
Crafting chests out of paper.
A paper chest can make for a fun little prop, a creative way of packaging a gift, or just a fun way to store little trinkets and doodads. They're really easy to make too, and they're usually cheap to make as well, depending on the paper you use.
Parental guidance: Use of scissors.
Difficulty: Easy.
Time: 30 minutes
Cost: Cheap.
Materials: Paper, scissors, glue or tape.
Optional materials: A printer would be incredibly helpful, but technically you could draw the patterns yourself.
Instructions
Click on one of the three images below to get a pdf of that design. Print it out on a piece of paper of your choice, then cut along the solid lines, and fold along the dotted lines. Glue the chests together using the flaps, make sure they're on the inside, and you're done.
Note that it's easiest to fold the paper with the lines facing outward, but if you want the lines to be on the inside, simply fold them twice. Once with the lines on the outside to ensure a straight fold line, then again the other way, using the fold line as a new guide.
Thicker paper usually means a stronger chest, but thicker paper can also be trickier to fold, so keep that in mind when printing out the designs.
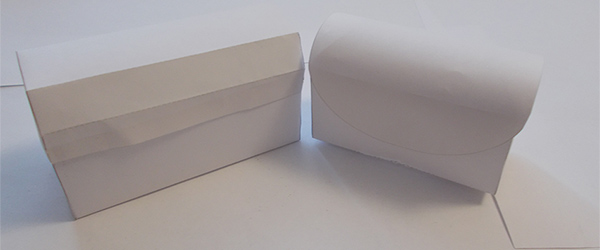
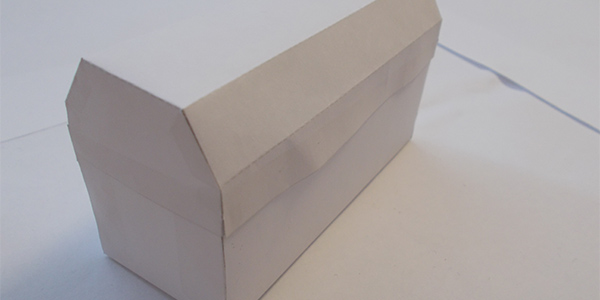
There are two versions of the rectangular chest below. The one with the bigger parts at the top will have a top that folds over the bottom of the chest, the other (plain) one will simply touch the edges.
I will likely add more chests in the future, especially if there's a demand for them.

Rectangular chest

Rectangular chest (plain)

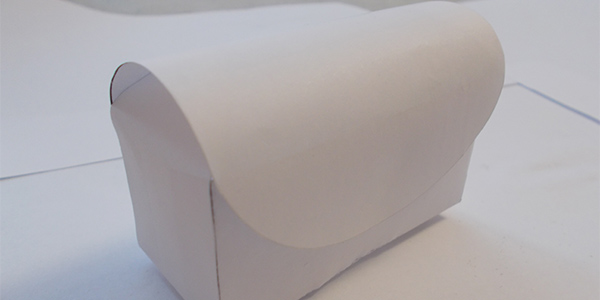
Rounded chest